Workbench tutorial in Drupal

Here I am going to explain one of the contributed module workbench module, using which we can implement content moderation and workflows in Drupal.
workbench mosule is relatively simple compared to other workflow modules, preferred if the number of steps and number of workflows is less, also this module provides dashboard.
https://www.drupal.org/project/workbench
install this workbench module first.
Workbench core module needed for other workbench suites of modules.
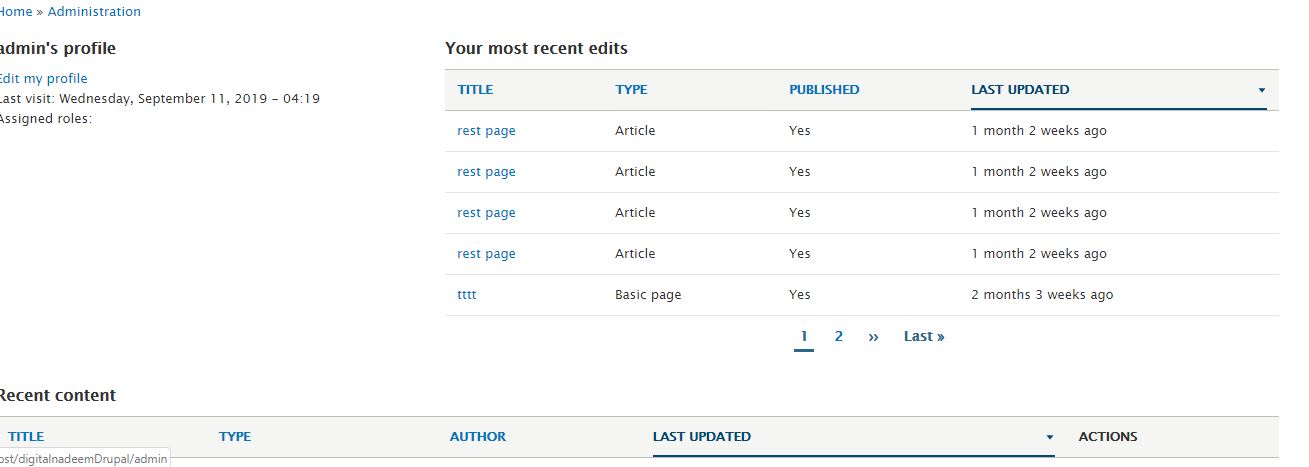
Workbench module alone will provide a content dashboard with recent edits and content details specific logged in the user role. This will make easy for content editors to navigate to each page like recent edits, my account details..etc
So in order to configure workflow, we need to enable below modules
- Workbench Access (https://www.drupal.org/project/workbench_access)
- workbench moderation module(https://www.drupal.org/project/workbench_moderation)
in drupal 8.2x if you are enabling content moderation module in core, workbench moderation module is not needed.
Workbench provides authors, editors and publishers unique content dashboard, that make user easly identify contents in different states of workflow.
Workbench module should be enabled in order to work with other workbench suite modules.
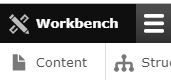
After enabling the workbench module you can see the workbench menu in the top.
Workbench dashboard provides your recent edits and recent contents.
Next, we have to enable workbench access and work bench moderation modules. Download modules from the below links.
https://www.drupal.org/project/workbench_access
https://www.drupal.org/project/workbench_moderation


After enabling modules under configuration->workflow you can see below modules.
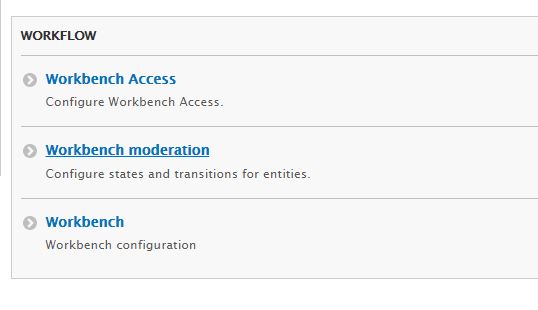
Here, under workbench moderation you can create transition states and transitions.
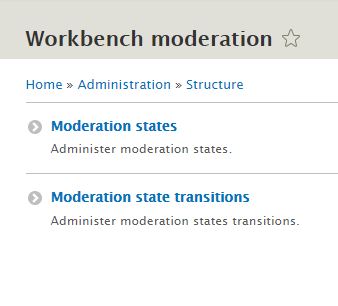
You can see two options, moderation states and moderate transitions
First create states and then create transitions.
States and transitions
While creating states you can select below options.
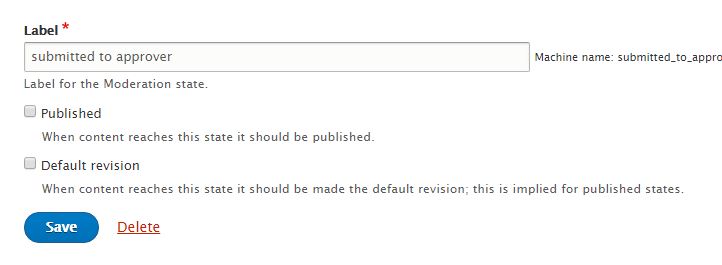
So here you can determine whether content to be published in this state or not.
Also you can select default revision if you need to make this state as default revision.
So you can create multiple number of states .by default below states will be available.
State transitions
Now we are going to see state transitions.
Under workbench moderation click on moderate state transitions.
http://localhost/digitalnadeemDrupal/admin/structure/workbench-moderation/transitions
![]()
You can see transition label and from state and to state of transition.
You can edit existing transition or add a new one as shown below.
![]()
You can select From and to state of the transition from drop down.
Permissions
You can assign permission for each transition to a particular role. Under permissions,
http://localhost/digitalnadeemDrupal/admin/people/permissions
go to workbench moderation and select transitions allowed for each role.
You can see all transition labels here .
![]()
If you want to allow an entity to be saved without changing its state then you must define a transition from that state to itself.
Enable for content types
While editing content type you can see tab for moderation.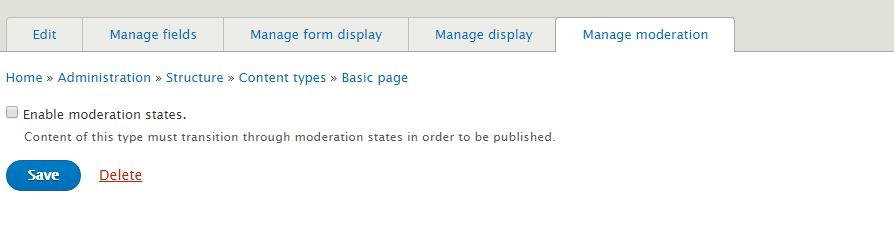
Click check box to enable moderation states. After click on check box you can see more options like as below
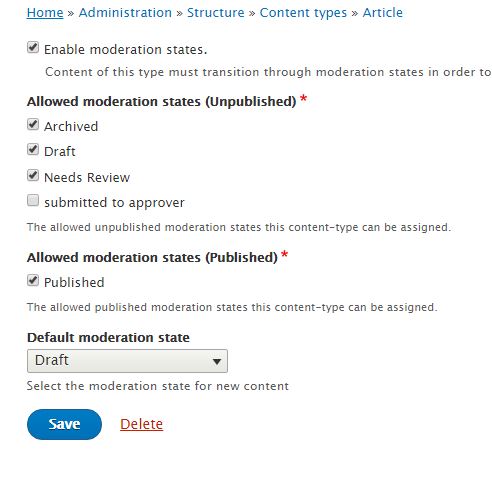
You can select moderation sates allowed for this content type .
One important thing you have to notice is compared to other modules here multiple moderation states can be created under published and unpublished state.
There is no specific workflow state for particular content type. You have to select workflow state needed for particular content type.
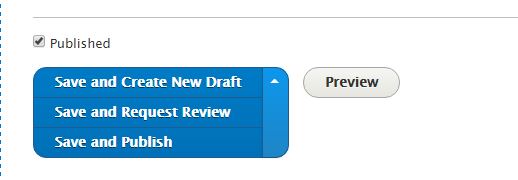
While creation of node you can see workflow options in Save button as shown below.
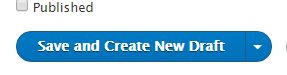
If you want to change workflow state you select options from save button.