Bulk content translation using tmgmt module in Drupal
Translation management tool is a contributed module in Drupal which helps in translation of contents from various sources.
Before installation of tmgmt module make sure you have configured all multilingual modules.
See this article for multilingual configuration in Drupal.
Installation
Download module from below link.
https://www.drupal.org/project/tmgmt
place the module in your modules folder.
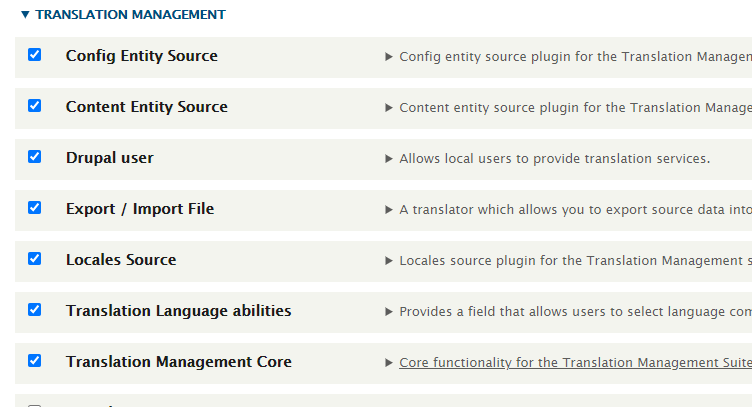
Go to module listing page under extend link and select below modules , Click install button.
After installation, you can see Translation link in menu.
![]()
Click on Translation link. You can see below list of sub menu links.
![]()
Click on Sources.
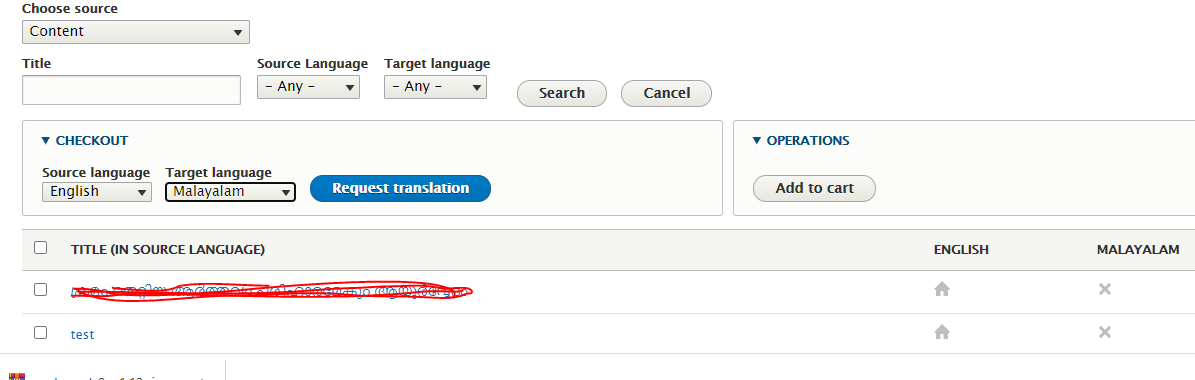
Select source language and target language and also select nodes to translate as below.
![]()
Then click on Request translation. So you can see below page. Provide label for translation task and select provider as File exchange.
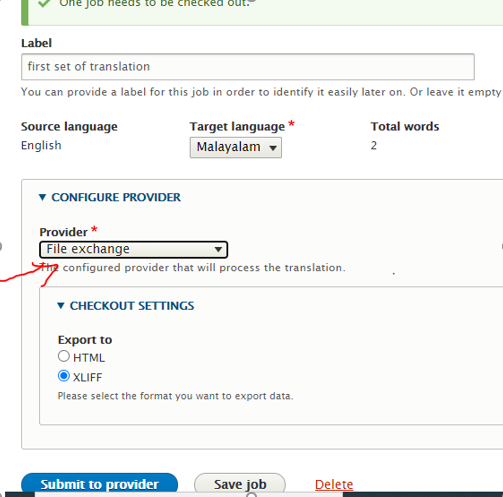
Select provider as File exchange and Export to options as XLIF.
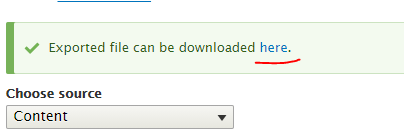
JobID1_en_ml.xlf will be saved in in your downloads folder.
This xlif file is a xml kind of file where each field has enclosed in a trans unit tag and with source and target tags.
<trans-unit id="1][title][0][value" resname="1][title][0][value" size-unit="char" maxwidth="255">
     <source xml:lang="en">article2</source>
     <target xml:lang="ml"/>
    </trans-unit>
Source tag has orginal English contents, in target tag new translation comes.
Most of the translation vendors has software’s which reads this xlif file and translate each fields and translated content placed in target tag.
So here we are manually creating translations of article titles.
I have updated xlif with target tag content as below.
<group id="1">
    <note>article2</note>
    <trans-unit id="1][title][0][value" resname="1][title][0][value" size-unit="char" maxwidth="255">
     <source xml:lang="en">article2</source>
     <target xml:lang="ml"> article2 translated</target>
    </trans-unit>
   </group>
   <group id="2">
    <note>article1</note>
    <trans-unit id="2][title][0][value" resname="2][title][0][value" size-unit="char" maxwidth="255">
     <source xml:lang="en">article1</source>
     <target xml:lang="ml"> article1 translated</target>
    </trans-unit>
   </group>
Now save the xlif fille. We need to import this.
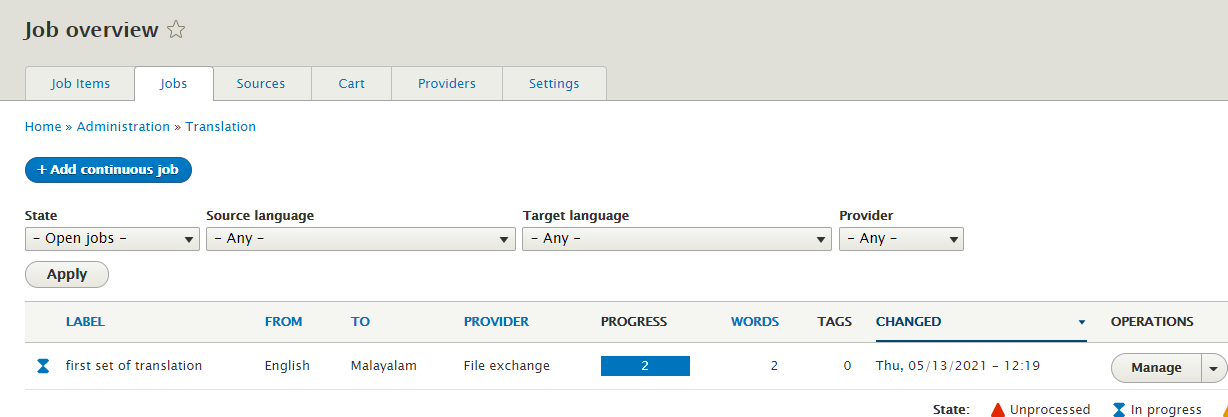
Go to Job over view page where you can see the job that we created.
Click on manage button against the job, you can see below import option , browse the updated xlif file and click on import.
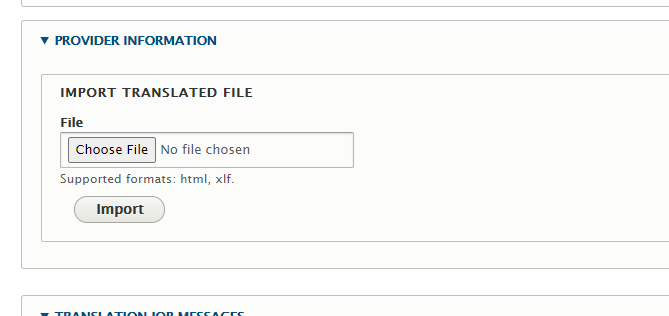
After import you can see below message.

Click again manage button of the job , you can review the translation

Click on review button.
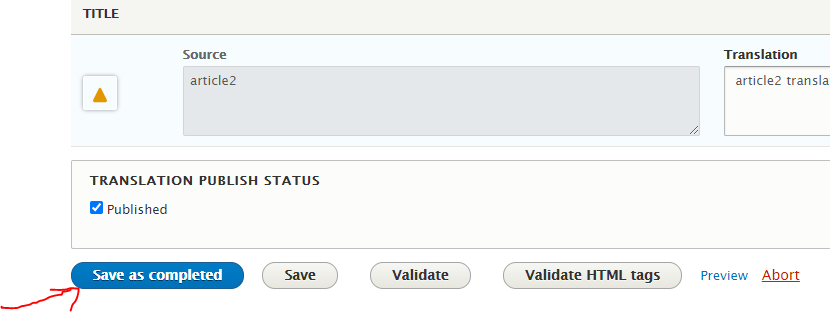
After confirming translation, click save as completed.
You can see newly created translated nodes in contents.
![]()