How to configure meta tags module in Drupal

As you already know meta tags are very important in SEO. Meta tags are mainly title, content descriptions that help to tell search engines what a web page is about. But there are other tags which helps to control description, title and image in social media websites which is a part of meta tags. Here we going to discuss about meta tag module in Drupal 8.
Before going in detail about meta tags module. We are discussing about some important meta tags and its use.
Title tag
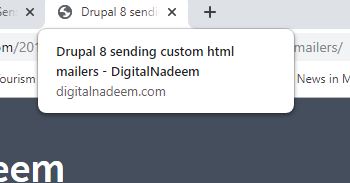
Title tag specifies the first line of search results in search engines. Title tags are important for SEO and visitors. It shows up in in Browser Tabs as well.
Meta description tag
A Meta Description is an HTML element that summarizes your web page. Search engines typically show the Meta description in search results below your Title tag.

CANONICAL TAG
In order to avoid indexing same content with different URL’s you can use canonical link tag . this will tell search index only this URL and avoid others. For example you have same content for below links
- http://www.example.com
- https://www.example.com
- http://example.com
- http://example.com/index.php
use canonical link to tell search engine which you want to index in search results.
<link rel=”canonical” href=”http://example.com/” />
ROBOTS META TAG
The Robots Meta tag is an HTML tag that provides instructions to web crawlers on whether to index or noindex a web page
<meta name=”robots” content=”noindex, nofollow”> – Means not to index or not to follow this web page.
SOCIAL MEDIA META TAGS (OPEN GRAPH AND TWITTER CARDS)
These tags are very important as it determines what image and title or description shows in social media sites while users are sharing your page links in social media.
If you are not using this tags, facebook and twitter will take first image in your page and description as first paragraph from your content.
So using this tags you can have better controller over contents looks in social media sites.
Following provided open graph example
<meta property=”og:type” content=”article” />
<meta property=”og:title” content=”TITLE OF YOUR POST OR PAGE” />
<meta property=”og:description” content=”DESCRIPTION OF PAGE CONTENT” />
<meta property=”og:image” content=”LINK TO THE IMAGE FILE” />
<meta property=”og:url” content=”PERMALINK” />
<meta property=”og:site_name” content=”SITE NAME” />
Following provided twitter cards
<meta name=”twitter:title” content=”TITLE OF POST OR PAGE”>
<meta name=”twitter:description” content=”DESCRIPTION OF PAGE CONTENT”>
<meta name=”twitter:image” content=”LINK TO IMAGE”>
<meta name=”twitter:site” content=”@USERNAME”>
<meta name=”twitter:creator” content=”@USERNAME”>
There are other social media meta tags like pintrest and Google plus that also available with meta tag module.
Now we are going to install meta tag module in Drupal 8 site.
Download module from link https://www.drupal.org/project/metatag
Enable module that lists under SEO section.
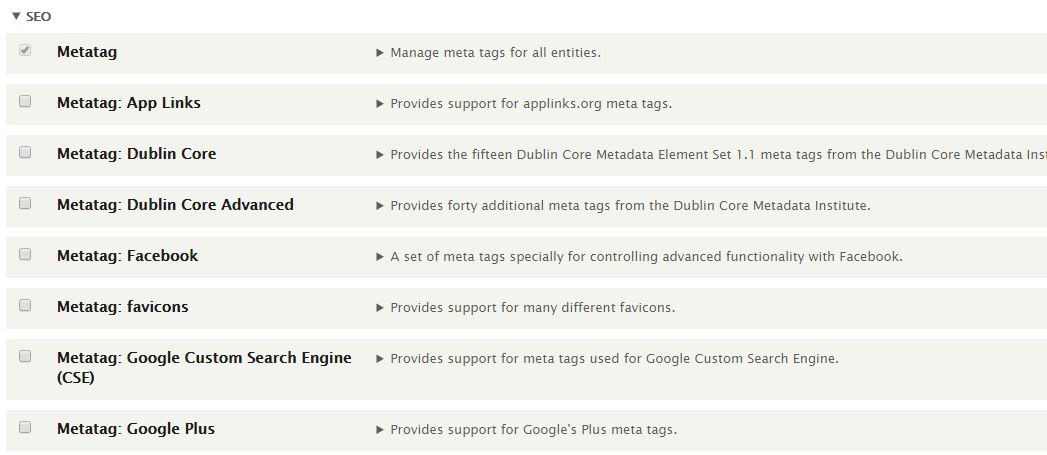
Now here I installed meta tag , twitter card and open graph modules.
Here we are going to discus below configurations of meta tags module
- Global Configuration
- Content type configuration
- Configuring metatag in views
Global configuration
If you go to configuration menu you can see global configuration for meta tag.
Configuration-> search and meta data-> meta tag
http://youdomain.com/admin/config/search/metatag
Here you can see meta tags that applicable for globally across different entities. Also you can set front page meta tags and 404(page not found), 403(access denied) metatags.
So see below section content . you can edit this section.
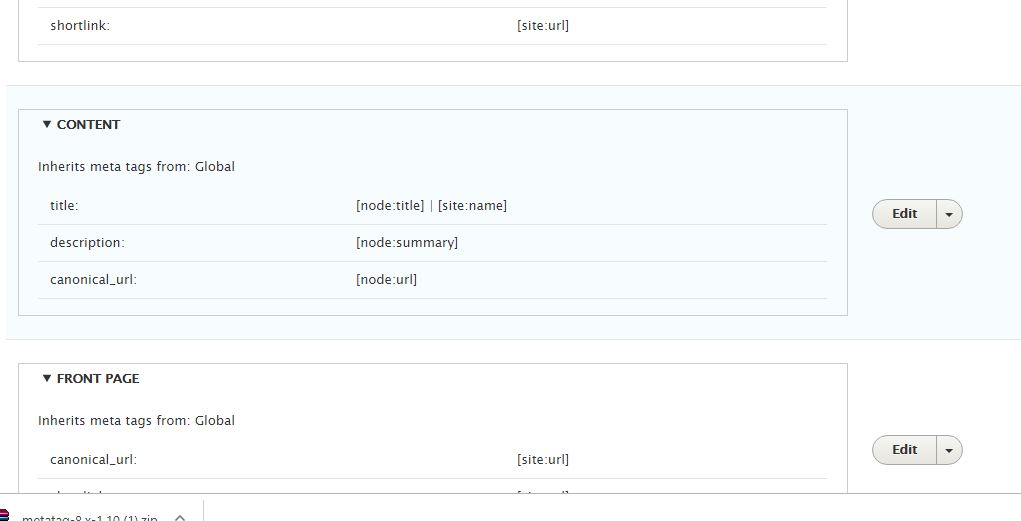
Here by default all content shows node title and site name as title tag and description as node summary. you can change these settings by going to individual content type also.
Content type configuration
In order to show meta tags options for specific content type , you have to add meta tag field for that content type.
Click on add fields and select meta tags as field type.
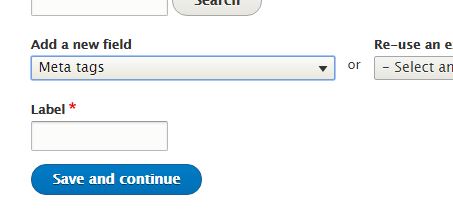
You can provide your own label. Here I am giving MET TAG INFORMATION as label. After hit save and continue and then save settings.
Now your content add will have new tab where you can add your meta tag information’s.
go to add content of your content type page.
You can see your metag information tab , and expanding you can see each meta tag fields.
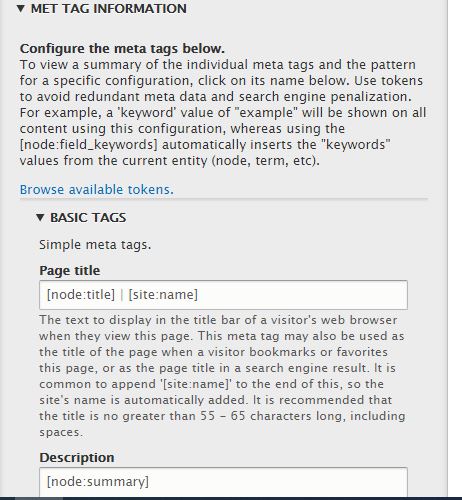
By default you can see token node:title and other tokens . you can provide your own values specific to that content type.
You can see advanced tab where you have more options like canonical URL, robots options, short link URL etc.

Also you can see News Keywords box which is used as key word indicator in Google news , so very useful for media related websites.
Also in advanced options you can see fields for setting cookies. SO if you want to set cookie for a page , not need to code.

Also you can see News Keywords box which is used as key word indicator in Google news , so very useful for media related websites.
Also in advanced options you can see fields for setting cookies. SO if you want to set cookie for a page , not need to code.
Configuring metatag in views
Install Metags:views sub module.
After install of module got to the view UI , you can see meta tags options.
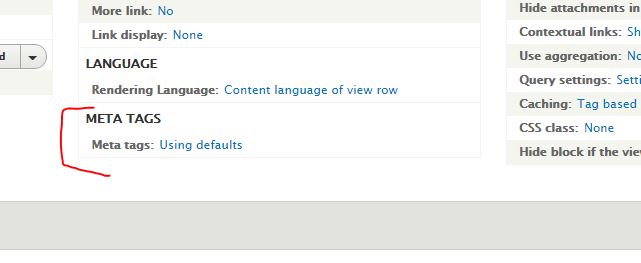
By clicking on Using default , you can provide each fields as per your requirement.
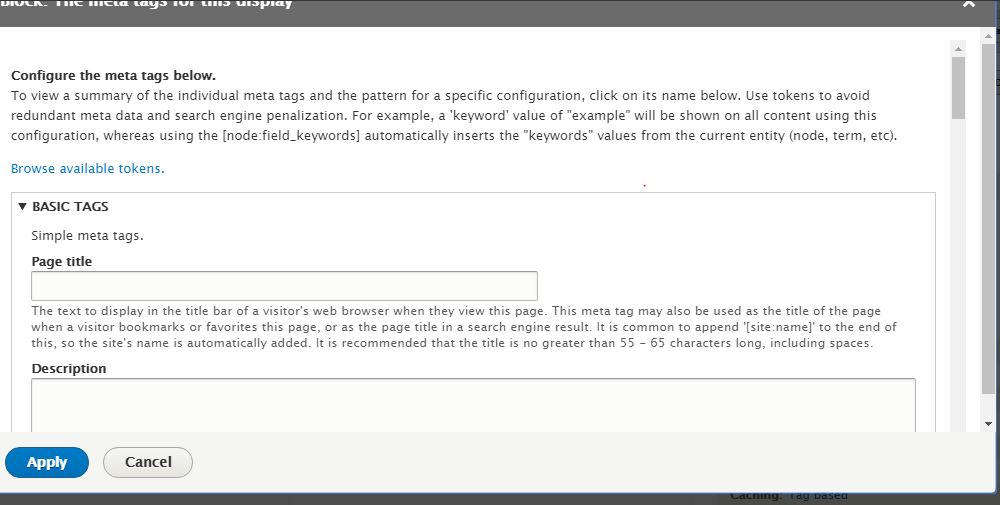
You can see all options including twitter card and Open graph.
Programmatically creating Meta tags
if you creating or updating your node programmatically, you can set your meta tag module as shown below.
$node = Node::create(array(
  'type' => article,
  'langcode' => 'en',
  'status' => 1,
  'uid' => 1,
));
$node->set('title', 'DN Testing metatag first creation');
$node->set('field_meta_tags', serialize([
  'title' => 'Some title',
  'description' => 'Some description.',
  'keywords' => 'Some,Keywords',
]));
$node->save();
If you want to add meta tags based on conditions in twig file you can refer this article.
