How to create react app project structure and splitting your react code into components

In this article I am explaining about how we can create project structure and splitting your application in to components.
As you already know react applications composed of components. Components are basic building blocks of a react application. Here we are going to discuss how we are breaking an existing application in to different components.
Components are java script classes. In a simple application, there will be two types of components
- Functional component
- Class components
Class components also called container components.
Container components where application renders its output by calling other functional components.
So breaking a react project into components makes a react application easily maintainable with proper structure.
So here we are going to make a better project structure for an existing application. See below sample app.
download unstructured react app here
This is a small application where we are listing person data in a card. By click on the text in the card you can delete each card.
While running you can see below screen.
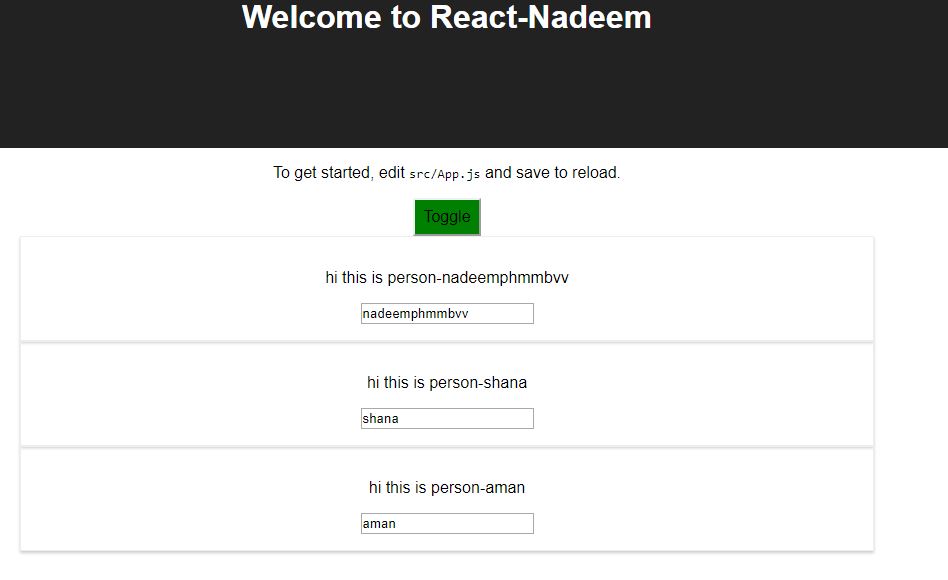
Here click on the toggle button makes person cards hide and show.
Now if you see the source code in src folder.
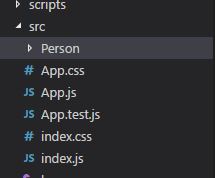
All JS files are placed in Src folder and person functional component placed in Person folder.
Here App.js is the container class component.
If you open App.js , you can see lot of code with normal javascript and JSX codes.
We will discuss each section of codes, and we will move to different components.
As you can see App.js , we can remove some sections from here place it in a structured form.
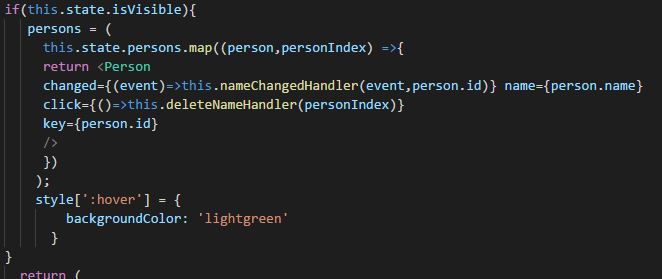
In App.js you can see App class component which has some handler function and then based on state value we are looping through the person’s object. And assign each person card to a variable persons.
See the below section. So this person map we need to move out of App.js
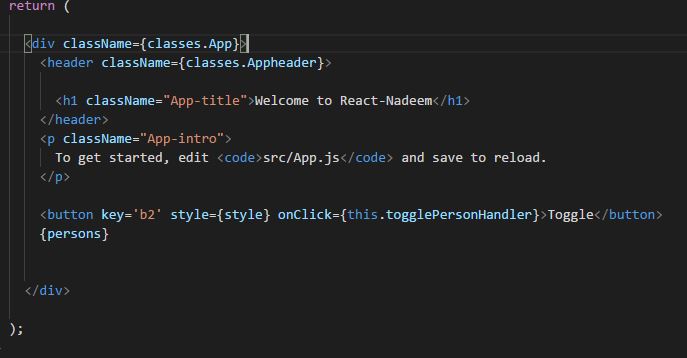
Another section we need to move out of App.js is the below part in the return section.
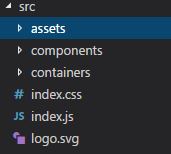
So for creating a proper project structure we are creating three folders, assets, containers, and components.
So create these folders in the src folder and we are going to place other JSX files in respective folders so that only indx.js and index.css will be outside. See below the final directory structure.
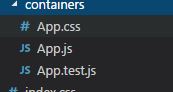
Next, we are going to place App files (App.js, App.css, and App.test.js) inside the containers folder.
Here we have only a class component, so we are placing App.js and related files in the container folder.
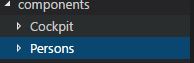
In side components folder we are creating two folders Cockpit and Person.
Inside persons Person folder we have to create another folder Person which contains our existing person component code.
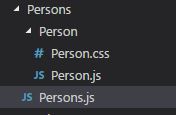
So person.js code will be as same as before. Just change the import path as we moved to new folders.
import React from 'react';

import pclasses from './Person.css'

const person = (props)=> {

 return(
        <div className={pclasses.Person}>

        <p onClick={props.click}>hi this is person-{props.name} </p>
        <input type="text" onChange={props.changed} value={props.name}/>

    </div>
    )

}
export default person;
Next, we are moving person map loop to Person.js file as below.
import React from 'react';
import Person from './Person/Person'
/*==========loop elements====*/
const persons =  (props) =>props.persons.map((person,personIndex) =>{

       return <Person
       changed={(event)=>props.changed(event,person.id)} name={person.name}
       click={()=>props.clicked(personIndex)}
       key={person.id}
       />
       });
export default persons;
as the next step, we want to move JSX code in return section in App.js into another component . for this purpose we are creating another component called cockpit.js inside components folder.
The folder structure will be as below.
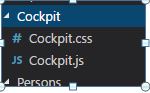
Now code in Cockpit.js will be as below.
import React from 'react';
import classes from './Cockpit.css';
const cockpit =  (props) =>{
const style= {
        backgroundColor: 'green',
        font:'inherit',
        padding:'8px',
        ':hover':{
          backgroundColor: 'lightgreen'
        }

  }

    return(
        <div className={classes.Cockpit}>
         <header className={classes.Appheader}>
        { /* <img src={logo} className="App-logo" alt="logo" />*/}
          <h1 className="App-title">Welcome to React-Nadeem</h1>
        </header>
        <p className="App-intro">
          To get started, edit <code>src/App.js</code> and save to reload.
        </p>

        <button key='b2' style={style} onClick={props.clicked}>Toggle</button>
      </div>
    );

}
export default cockpit;
now we have moved two sections in App.js into components.
Next, we have to call these components in App.js.
Move to App.js and import newly created components at the header.
import classes from './App.css';
import '../components/Persons/Person/Person.css'
import Persons from'../components/Persons/Persons';
import Cockpit from'../components/Cockpit/Cockpit';
then move on to if condition to assigns persons card. Persons component will be loaded as below.
if(this.state.isVisible){
     persons = (
       <div> <Persons persons={this.state.persons}
       clicked = {this.deleteNameHandler}
       changed = {this.nameChnagedHandler}
       /></div>

      );
      style[':hover'] = {
          backgroundColor: 'lightgreen'
        }
  }
Next we have to place our Cockpit component in return section of App.js.
return (

      <div className={classes.App}>
        <Cockpit clicked={this.togglePersonHandler}/>
        {persons}


      </div>

    );
So now if you run the application you can see the same output.
download structured app code here
Conclusion
As a react developer it is your responsibility to make your app more maintainable by creating more functional components as you can and container leaner as possible. This makes your application built upon granular components and more maintainable.